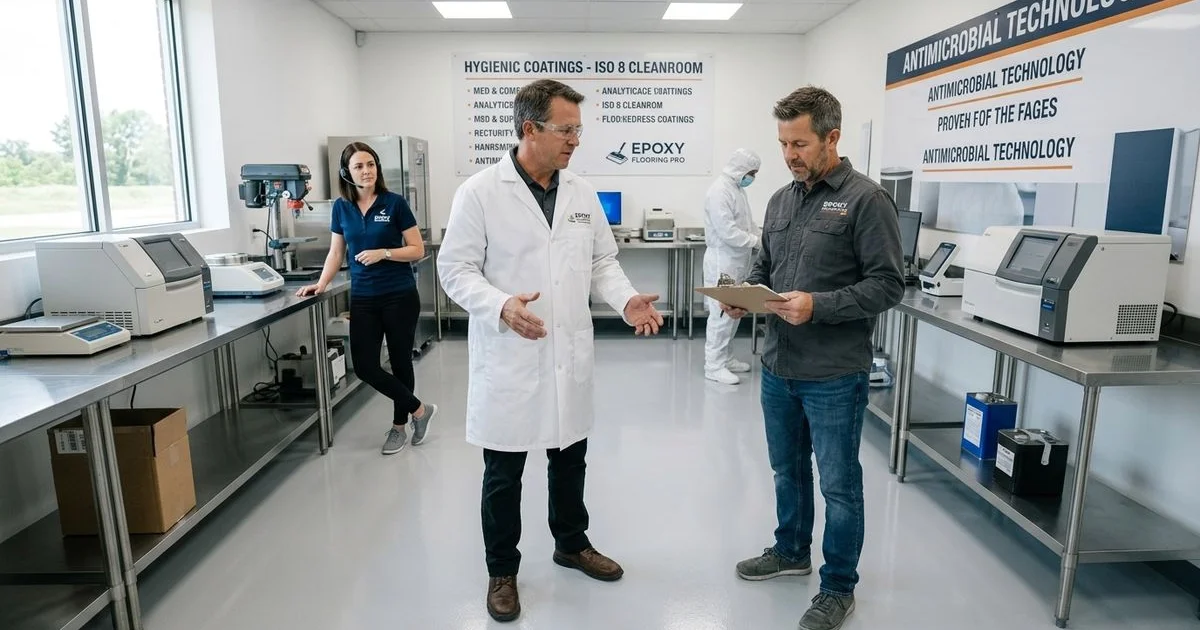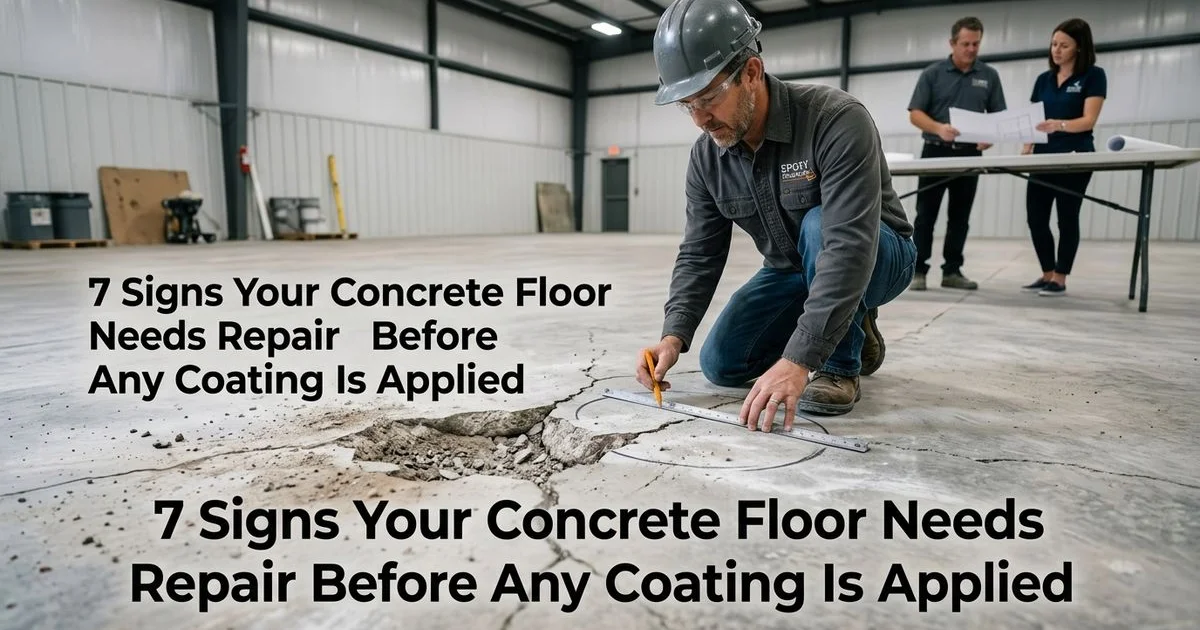
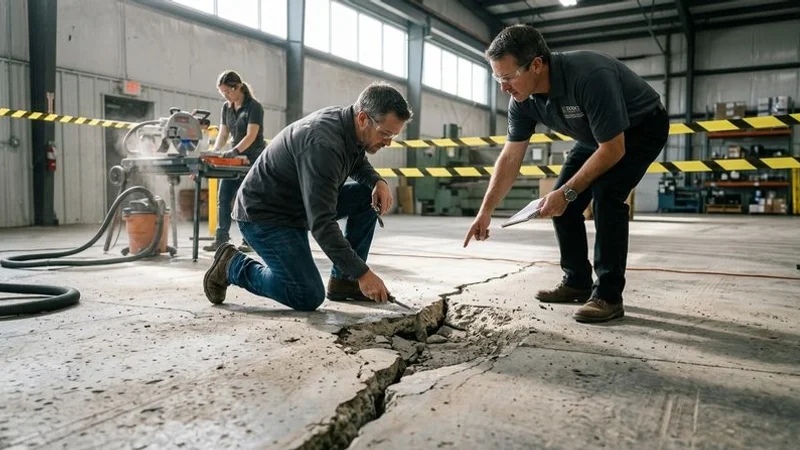
Why Concrete Condition Determines Coating Success
You know how frustrating it is to watch a massive capital investment peel away from the floor within months. Our team at Epoxy Flooring Pro is dedicated to delivering high-performance industrial flooring solutions, and we see this failure happen constantly across the US. Recognizing the 7 signs your concrete floor needs repair before any coating is applied is absolutely critical for long-term success.
Coatings never fix underlying concrete problems.
They simply hide the defects temporarily until the damage progresses. Every reputable contractor begins a project with a thorough concrete assessment. Our crew evaluates these specific warning signs before ever opening a bucket of resin to ensure a lasting installation.
1. Spalling and Surface Delamination
Spalling appears as flaked, chipped, or cratered areas where the top layer of concrete has separated from the substrate below. Freeze-thaw cycling, embedded rebar corrosion, or poor finishing techniques usually cause this damage. We consider surface delamination a critical failure point for any new installation.
Applying an epoxy layer directly over spalled concrete creates an immediate structural flaw. The coating bridges over loose debris that will inevitably continue to deteriorate. When the spalled area eventually releases, it takes the coating with it.
Pro Tip: American Concrete Institute (ACI) standards dictate that your selected repair material must achieve a compressive strength greater than 4,000 psi to withstand heavy industrial traffic.
This progressive deterioration creates a failure zone that spreads rapidly outward from the original defect. Our repair protocol follows the ACI 546.3R-06 guidelines for material selection. You must remove all loose material by mechanical means and clean the cavity thoroughly.
- Pre-wet the surface: Dampen the cavity before patching to maximize the bond.
- Match the profile: Ensure the cured patch matches the surrounding surface texture.
- Verify cure times: Never apply coatings before the patching compound fully cures.
2. Structural Cracks
Not all cracks require the same repair strategy. Structural cracks extend through the full depth of the slab and indicate active movement within the concrete. We evaluate these deep fissures very carefully because they will continue to shift over time.
Filling these gaps with standard materials is a common mistake. The ongoing movement will simply re-crack any rigid repair compound and destroy the expensive coating above it. Cosmetic shrinkage cracks are stable and typically less than 1/16 inch wide.
Standard epoxy fillers easily handle these minor surface blemishes during regular preparation. Structural flaws demand flexible joint compounds that accommodate ongoing shifting without losing adhesion.
Choosing the Right Joint Filler
Industry standards for concrete floor construction require a joint filler to have a minimum Shore A hardness of 80. Our crews frequently choose between semi-rigid epoxy and polyurea fillers based on project specifics. Both materials meet the ACI 302 hardness requirements, but they perform quite differently under stress.
| Feature | Epoxy Joint Filler | Polyurea Joint Filler |
|---|---|---|
| Lateral Expansion | Tolerates 5% to 8% expansion. | Tolerates 5% to 15% expansion. |
| Cure Time | Requires 6 to 12 hours for light traffic. | Ready for traffic in 1 to 2 hours. |
| Temperature Limits | Must be installed above 32 degrees Fahrenheit. | Can be installed in freezing conditions. |
Proper preparation remains the secret to a lasting fix. Contractors must grind cracks open using a V-shaped crack chaser diamond blade. We recommend using a 4-inch to 8-inch blade to route out the damage and create a clean channel. This process exposes clean pores and dramatically increases the surface area for the new filler to grip.
3. Moisture Vapor Transmission Issues
Excessive moisture vapor migrating from the soil below the slab is the number one cause of coating failure on slab-on-grade construction. The water vapor eventually reaches the underside of an impermeable coating and generates powerful hydrostatic pressure. We see this pressure literally push thick epoxy layers away from the concrete surface.
Telltale signs of moisture problems include blistering, bubbling, or complete delamination. White mineral deposits, known as efflorescence, also provide a clear visual warning of moisture movement. Facility managers often notice these issues near exterior walls or in low-lying sections of the building.
Guessing about moisture levels is a massive financial risk. Installers must test the substrate using precise methods before specifying any coating system.
The 24-Hour ASTM F2170 Testing Standard
Surface moisture meters only tell part of the story. The current industry standard is the ASTM F2170 relative humidity test. Our technicians drill into the slab and place sensors at exactly 40% of the concrete depth. This method accurately predicts the final equilibrium moisture content of the floor.
- Faster results: A major 2026 update to the ASTM F2170 standard confirms that in-situ probes only require 24 hours to fully equilibrate.
- Old standard comparison: Previous guidelines forced contractors to wait a full 72 hours.
- Clear thresholds: Most high-performance epoxy systems require a relative humidity below 75% for proper adhesion.
If testing reveals humidity levels above the manufacturer threshold, moisture vapor barriers become mandatory. These specialized penetrating primers act as a waterproof bridge between the damp substrate and the finish coat.
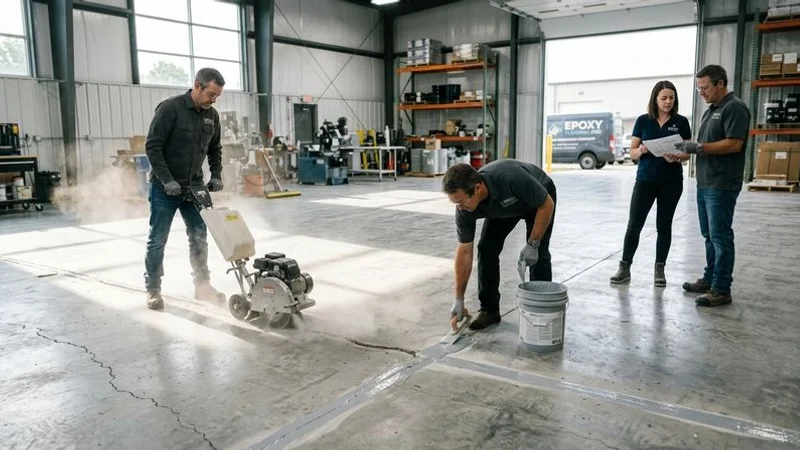
4. Previous Coating Failures
Remnants of old, failing coatings must be completely eradicated before a new system touches the floor. Attempting to apply fresh epoxy over partially adhered material creates a disastrous weak link. The new layer will bond beautifully to the old material, but that old material is actively separating from the concrete.
When the bottom layer finally gives way, everything above it fails instantly. We require complete removal of all previous applications to guarantee a lasting finish. This process typically demands aggressive mechanical preparation.
Achieving the Correct Concrete Surface Profile (CSP)
Surface roughness determines how well a new coating will grip the floor. The International Concrete Repair Institute (ICRI) developed the Concrete Surface Profile (CSP) scale to standardize this essential texture. The scale ranges from CSP 1 for a nearly smooth finish to CSP 10 for an extremely rough texture.
| Coating Thickness | Required ICRI Profile | Recommended Preparation Method |
|---|---|---|
| Thin films (4 to 5 mils) | CSP 3 | Light shot blasting or heavy grinding. |
| High-build epoxy (15 to 50 mils) | CSP 4 or CSP 5 | Medium shot blasting. |
| Thick overlays (Over 50 mils) | CSP 6 to CSP 9 | Heavy scarification or extreme shot blasting. |
Contractors use specialized machinery that propels steel abrasives at the floor to achieve these precise profiles. Our concrete surface preparation standard procedure involves verifying the CSP with visual replica blocks before mixing any resin. Chemical strippers are strictly a last resort for stubborn materials that resist mechanical grinding.
5. Oil and Chemical Contamination
Industrial slabs routinely absorb petroleum products, cutting oils, and hydraulic fluids deep into their pores. Surface scrubbing does absolutely nothing to remove this subsurface contamination. Epoxy resins simply will not bond to oil-soaked concrete, regardless of how aggressively you grind the top layer.
Dark stains that persist after heavy washing clearly indicate deep chemical saturation. You might also notice areas where water beads up rapidly rather than soaking into the surface. We always suspect severe contamination in zones where previous coatings have preferentially peeled away.
Treating this damage requires extracting the oil from within the slab. Mechanical scarification removes the heavily saturated top layer of concrete entirely. This method is fast but physically reduces the thickness of the slab.
Pro Tip: For deep saturation, bio-remediation products offer an eco-friendly alternative by introducing natural bacteria that consume aliphatic hydrocarbons directly from the concrete pores.
Products like Sound 3300 or BacKrete utilize live, naturally occurring microbes. These bacteria literally eat the oil and convert it into harmless carbon dioxide and water. Our preferred approach involves applying these microbial treatments over several weeks, allowing the bacteria sufficient moisture and aeration to clean the substrate safely.
6. Joint Deterioration
Control joints and saw-cut lines protect slabs from random cracking, but they suffer intense abuse from heavy equipment. Forklift traffic systematically crushes the unprotected edges of deteriorated joints. Crumbled boundaries, missing filler, and excessively widened gaps signal severe concrete movement.
We approach joint restoration as a strict structural necessity rather than a cosmetic fix. The repair process starts by routing the joint with a dustless saw to establish clean, vertical side walls. This ensures a consistent width and depth for the new material.
The Joint Repair Protocol
Installers then fill the void with an appropriate semi-rigid polyurea or epoxy compound. The American Concrete Institute (ACI) dictates specific fill depths to ensure structural integrity.
- Full depth installation: Standard saw-cut joints require filling from the bottom to the very top.
- Deep joint rules: If the gap exceeds two inches in depth, the filler must be at least two inches thick.
- Avoid backer rods: Compressible foam rods placed near the surface will crush under heavy loads and destroy the filler.
Our technicians strictly avoid backer rods in heavy-traffic industrial zones. The selected joint compound must also be chemically compatible with the final floor coating to prevent frustrating adhesion failures along the edges.
7. Surface Laitance and Weak Layers
Laitance is a deceptive, powdery layer that forms on the top of freshly poured slabs. It consists of fine cement particles and excess water that migrate upward during the finishing process. This crust might look like solid concrete, but it possesses virtually no tensile strength.
Applying an industrial coating over laitance guarantees a massive failure. The epoxy will bond to the powdery layer, which will then immediately shear away from the solid slab underneath. We rely on a simple scratch test to verify the presence of this weak material.
If you can easily scratch the floor surface with a standard coin or house key, dangerous laitance is present. Slabs finished with excessive water or those that experienced heavy bleed-water during curing are incredibly susceptible to this issue.
Pro Tip: New concrete requires just as much mechanical preparation as a decades-old floor. You must profile all new pours to eliminate laitance, regardless of how pristine the surface appears visually.
Our standard procedure utilizes heavy shot blasting to remove this fragile crust. This mechanical process violently impacts the floor with steel shot, tearing away the weak laitance and exposing the strong, porous concrete below. Only then is the slab truly capable of supporting a high-performance floor coating.
The Cost of Ignoring the 7 Signs Your Concrete Floor Needs Repair Before Any Coating Is Applied
Proper concrete repair definitely adds upfront cost and time to any flooring project. Facility managers might be tempted to skip these steps to stay within a tight budget. We always advise against cutting corners on surface preparation.
The financial penalty for ignoring underlying defects is staggering. A coating failure requires an entirely new remediation project that paralyzes your facility. You will pay for the original installation, the demolition, and a brand-new application.
The True Price of Remediation
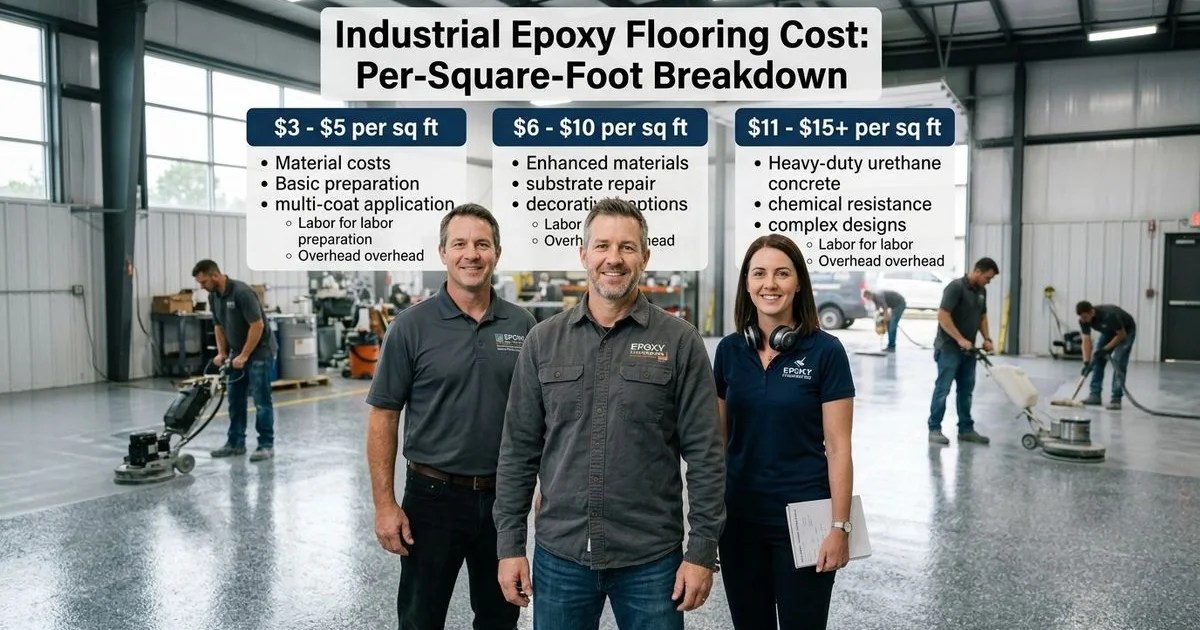
Data from industrial flooring projects across the US highlights the severe economic impact of poor preparation. A standard professional epoxy installation might cost between $5 and $12 per square foot. Remediating a failed floor multiplies those costs exponentially.
- Demolition expenses: Contractors must mechanically grind or shot blast the entire failed system off the floor.
- Aggravated repairs: The original concrete defect has usually worsened under the broken coating.
- Double material costs: You must purchase an entirely new batch of high-performance resin.
- Lost productivity: The facility suffers an extended shutdown during the extensive remediation process.
Our data shows that fixing a failed floor typically costs two to three times more than doing the job correctly on day one. A facility might easily spend $15 to $36 per square foot just to correct a preventable mistake.
Getting an Honest Assessment
Insist on a comprehensive concrete condition assessment from a highly qualified contractor before committing to any project. If you spot any of the 7 signs your concrete floor needs repair before any coating is applied, do not hesitate to seek professional guidance.
A visual inspection is never enough.
Professionals must perform quantifiable adhesion testing, moisture probe evaluations, and hardness checks. Our team provides comprehensive concrete assessment and repair services as part of every flooring project, so reach out and Contact us to schedule an evaluation today.
Need Help With Your Floor Coating Project?
Our project managers provide free on-site assessments tailored to your facility.
Get a Free Estimate